Straightforward Guide To Uncle Ben’s Tek: The Cheapest Way To Grow Mushrooms
Uncle Ben’s tek uses pre-cooked rice pouches 🍚 and is a cheap and simple method for growing mushrooms at home.

Beginners love Uncle Ben’s tek, and experienced growers swear by it.
Starting with the pre-sterilized grain will give your spores a safe, happy home to colonize. Reducing contamination risk in the early growing stages makes Uncle Ben’s nearly foolproof — though nothing can guarantee success.
Let’s dive into all things Uncle Ben’s: from basic setup to maximizing flushes, we’ll break down what it takes to grow magic mushrooms from a bag of microwavable rice.
At a Glance: Uncle Ben’s Tek
Materials:
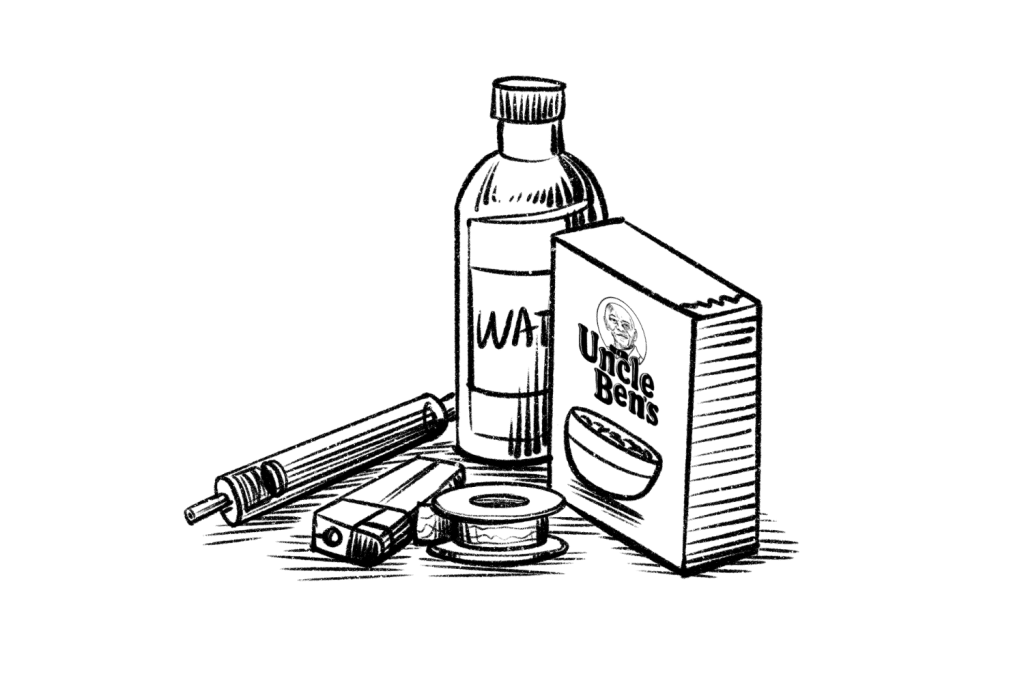
- (1) 10 cc spore syringe
- (10) 8.8 oz pouches of Ben’s Original™ Ready Rice™ whole grain brown rice.
- 70% isopropyl alcohol solution AND disposable wipes
- Clean cloth or paper towels
- Lighter or a similar source of flame
- Micropore tape
- Scissors
- (2) 64 qt clear storage containers with clear lids
- Heavy-duty black garbage bags
- Substrate
- Continuous-spray water bottle
Process:
- Sanitize your area
- Inoculate Your Rice Bags
- Incubate the Colonized Grain in a Dark Area for 2–4 Weeks
- Prepare Your Substrate
- Spawn to Bulk
- Colonize Substrate
- Set Fruiting Conditions
- Harvest
What is Uncle Ben’s Tek?
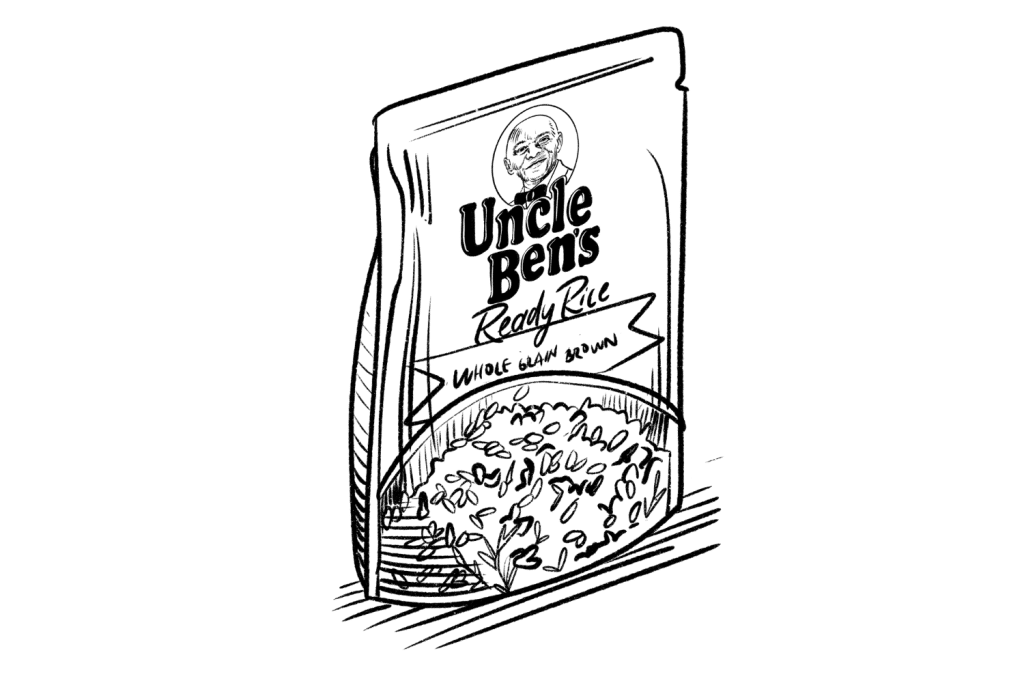
Uncle Ben’s tek is a method of growing mushrooms at home using microwavable pouches of pre-cooked rice. The name comes from Ben’s Original™ — once named Uncle Ben’s — a popular rice brand that sells steamed, ready-to-eat rice in shelf-stable pouches.
Other methods of growing mushrooms — like PF tek and monotub tek — use grain bags/jars. Unfortunately, pre-made grain bags are expensive, and making your own requires access to specialty stores and equipment.
Uncle Ben’s Ready Rice is ready to eat right out of the bag, pre-sterilized and hydrated. As convenient for amateur mycologists as it is for busy home cooks, Uncle Ben’s Ready Rice is also ready for inoculation with zero prep.
You can buy Uncle Ben’s and similar pre-cooked rice products at almost any grocery store — and they’re affordable! Due to the small size of the rice bags, the colonization period for Uncle Ben’s tek is also shorter than many other options.
Uncle Ben’s Tek Supply List
This recipe makes enough grain spawn (rice colonized with mycelium) for two 64 qt fruiting chambers. Scale up or down depending on your desired yield.
- (1) 10 cc spore syringe
- (10) 8.8 oz pouches of Ben’s Original™ Ready Rice™ whole grain brown rice — You may substitute with another brand of pre-cooked brown rice. Be sure to use pre-cooked rice, not instant, minute, or par-cooked rice.
- 70% isopropyl alcohol solution AND disposable wipes — Less is more in this case! 90% isopropyl evaporates before it can kill bacteria, whereas 70% solutions have more water and staying power as disinfectants.
- Clean cloth or paper towels — Only if using isopropyl solution instead of disposable isopropyl wipes.
- Lighter or a similar source of flame — To sterilize the needle of the spore syringe
- Micropore tape — To cover the hole from the syringe
- Scissors
- (2) 64 qt clear storage containers with clear lids — These will become your colonization and fruiting chambers.
- Heavy-duty black garbage bags — To line the bottom of your storage container.
- Substrate mix of your choice — I prefer CVG — or coco coir, vermiculite, and gypsum — and this recipe from Philly Golden Teacher is foolproof). Plain coco coir is a fine substitute if you want to keep costs down.
- Continuous-spray water bottle — Use this during the fruiting process to maintain humidity.
Where To Buy Magic Mushroom Spores
Magic mushrooms are illegal under federal law and decriminalized in only a handful of US states and counties. On the other hand, magic mushroom spores are legal, with only a few states restricting their sale.
This loophole exists because magic mushroom spores don’t contain any psilocybin or psilocin. Until they germinate, mushroom spores are innocuous — at least in the eyes of the law.
One caveat: both seller and buyer must agree the spores are for research purposes only (e.g., microscopy). Reputable spore vendors will always include a disclaimer to this effect.
How To Grow Mushrooms At Home with Uncle Ben’s Tek
Growing mushrooms is slower than buying them in a baggie from your friend, but the time and love you give them can immensely increase your relationship with them. Here are the steps involved in growing your own mushrooms using the Uncle Ben’s Tek:
#1. Clean Your Space — Preventing Contamination and Uncle Bens Tek
Timeframe: 1 hour – 2 hours
Before you start your Uncle Ben’s tek cultivation journey, take a good hour or two to clean up your space. If contamination seeps into your grain spawn, it may lie dormant, crushing your hopes down the line.
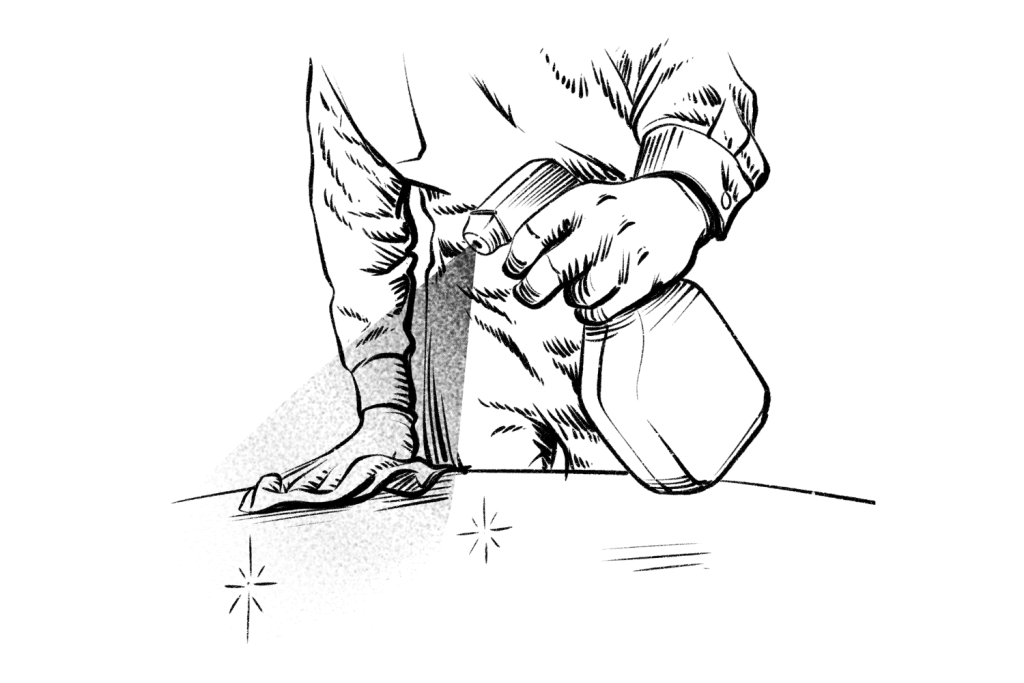
Disinfect your surfaces using an antibacterial spray or all-purpose cleaner. Wipe down the tools you plan to use and throw away any trash in the vicinity.
If you want to go the extra mile, use an air sanitizing spray like Ozium to kill airborne contaminants. Finally, put on a pair of disposable gloves and a face mask to avoid introducing your own bacteria.
#2. Inoculating Your Uncle Ben’s Rice
Timeframe: 30 minutes – 1 hour
Begin prepping your Ready Rice pouches by gently squeezing each bag of rice to break up clumps. Wipe each pouch, your scissors, and anything else you’ll be using with isopropyl alcohol and set them in place.
Prepare your spore syringe by holding the needle in the flame of the lighter for a few seconds — don’t heat the plastic of the syringe or the spores. Immediately clean the needle using an alcohol wipe. You will repeat this step after inoculating each pouch.
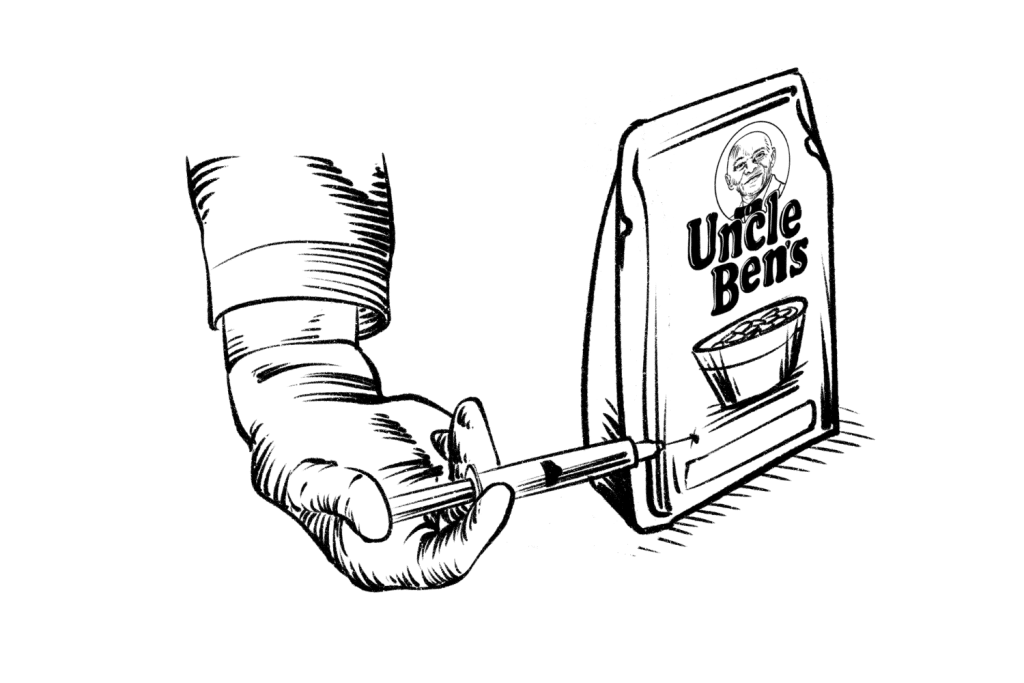
Snip off the corner of a bag of Ready Rice, removing about half an inch and creating a small hole. Shake the syringe, then insert it into the hole, injecting approximately 0.5–1 cc of spore solution.
Inoculating more than one site can help distribute spores and increase colonization speed. Try to inject it into the rice rather than dripping it over the top. If your technique could use improvement, don’t worry — gravity will do its work!
Being careful to leave the corner open, apply micropore tape over the hole — this will enable gas exchange while protecting against contaminants. Be sure to cover the hole completely to prevent air from entering the pouch.
Some cultivators using Uncle Ben’s tek prefer to inoculate by plunging the needle through the side of the pouch. This method works well and is closer to the traditional method of inoculating a grain bag.
If you inoculate through the side, you will need to apply micropore tape to the injection site. You will still need to snip the corner to enable safe gas exchange.
Repeat this process for each pouch.
#3. Incubating Process for Uncle Ben’s Tek
Timeframe: 2 weeks – 1 month
Incubation is your opportunity to sit back and let the spores do their work. Keep the pouches of inoculated, pre-cooked rice in a dry place away from direct light.
While light won’t (in most cases) hurt your growing mycelium, it won’t help it at this stage, either. Temperature is the most important factor during incubation — too low, and your colonization will stall; too high, and you might promote contaminant growth, and sunlight can heat your bag.
Luckily, room temperature (between 65-75℉) is a safe range for inoculating most spores. This means you can keep your inoculated pouches in a standard closet, a still-air box, or the corner of a spare room.
There are fancier options available — like building an incubator — but keeping things simple is the spirit of Uncle Ben’s Tek. Allow the inoculated pouches to sit undisturbed for around a week.
At this point, you should be able to see mycelium forming — assuming the pre-cooked rice you are using has a clear window. Once the mycelium has colonized around 50-60% of the bag (around 7-12 days), it’s time to mix.
Using your hands, break apart the “brick” of mycelium and rice forming in the pouch. This helps distribute the mycelium to the rest of the rice and speeds up colonization.
Your pouches of pre-cooked rice should reach full colonization at around 2-4 weeks.
From here, the remaining steps are identical to most other methods of home mushroom cultivation.
#4. Prepare Your Substrate & Fruiting Chamber
Timeframe: 12 – 24 hours
Your chosen fruiting chamber and substrate will mostly depend on personal preference. CVG works well for many cultivators, but just as many swear by plain old coco coir on its own.
If all 10 of your Ready Rice pouches colonize and are free from contaminants, you’ll have enough to fill two large fruiting chambers. For all 10 bags, you’ll need around 4 gallons of substrate total for a 1:2 ration (spawn to substrate).
If you are using only coco coir, this will be about two 650-gram compressed bricks rehydrated and sterilized with boiling water.
Note that the substrate should be completely cool before you mix it with the grain spawn. I let mine sit for at least 12 hours to cool.
If some of the bags did not succeed during incubation, reduce the amount of substrate accordingly.
As for the fruiting chamber, a simple, unmodified monotub is the easiest way to go. All you’ll need is a clear, large storage container — around 64 quarts.
Line the bottom of the tub with a black trash bag, and you’re ready to add your substrate and grain spawn.
#5. Spawning With Uncle Bens Tek To Bulk
Timeframe: 10 – 30 minutes
Here, you’ll mix colonized grain spawn — the rice bags full of mycelium — with the sterilized substrate. You can do this in a large bowl, bucket, or directly in your fruiting chamber.
While mixing, break up clumps of grain spawn to distribute them into the substrate. Spread the mixture into an even layer in the bottom of your fruiting chamber(s) and pat lightly.
You may choose to add a casing layer to help hold moisture and reduce the risk of your mycelium becoming dehydrated. About 1/4 – 1/2 an inch of coco coir spread over the top will do the trick and go a long way.
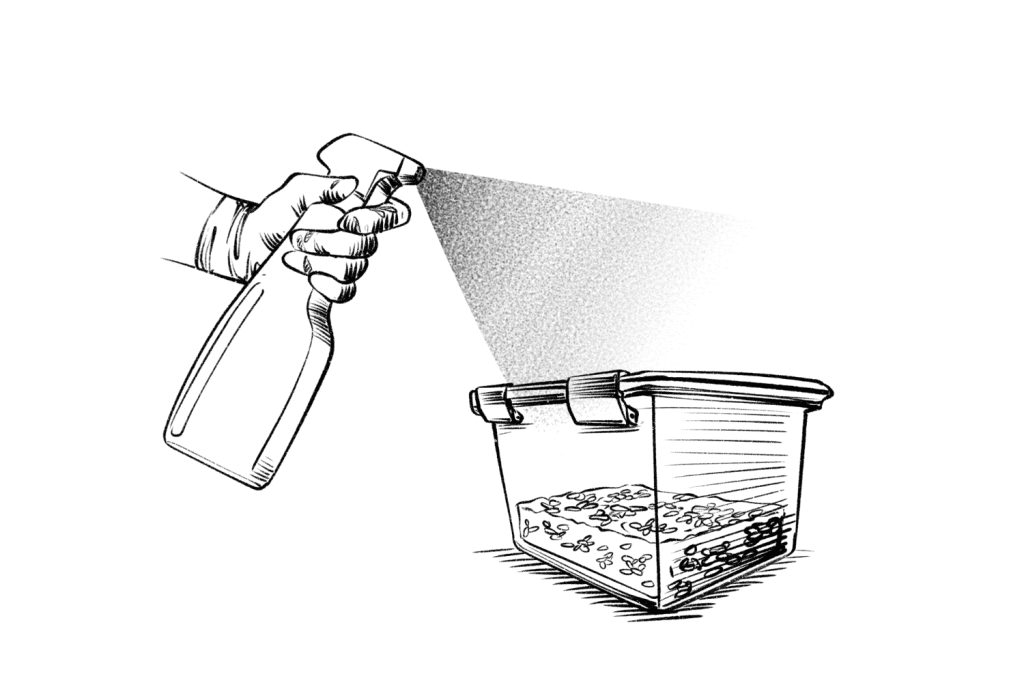
Spray the surface of the substrate or casing layer and the sides of the container with your continuous spray water bottle until you see beads of water and before it forms pools of water.
Cover the container with the lid, and don’t disturb it for several days.
#6. Colonize the Substrate After Uncle Ben’s Tek
Timeframe: 4 days – 2 weeks
No matter how tempted you are, leave the container lid closed. Exposing your mycelium to air too early can lead to stunted growth, dehydration, and contamination.
During this period, the fruiting chamber should regularly be in indirect light. Mushrooms don’t photosynthesize or use light the way plants do, but they do use the light to figure out which direction to grow.
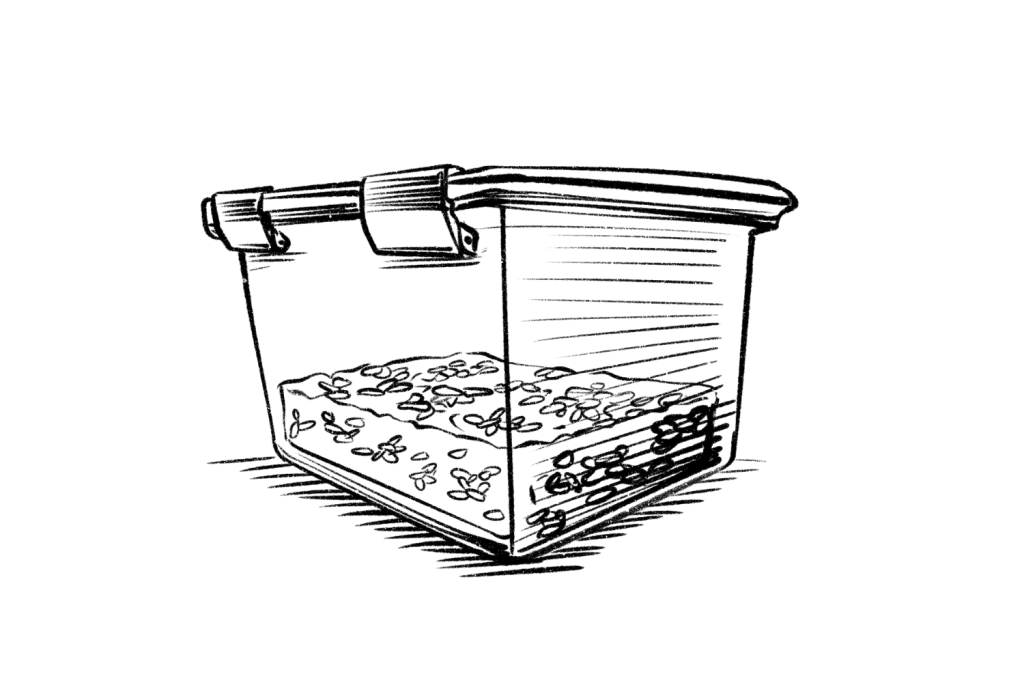
Your black trash bag liner prevents your mushrooms from growing straight down or to the sides, but they need the sun to pull them above the surface. The mycelium will sense the light coming from above and push pins out on top of the substrate.
Once you see that the mycelium has colonized at least 80% of the surface of the substrate, you can move on to fruiting. At this point, you should also see tiny balls of mycelium forming. These are hyphal knots and a sign that you’ll be seeing pins soon!
#7 Putting Uncle Ben’s Tek Into Fruiting Conditions
Timeframe: 3 days – 4 weeks
I should have called this section “mist and fan,” since that’s what you’ll be doing for the most part! To start fruiting your mushrooms, all you need to do is introduce fresh air and steady hydration.
A gasp of oxygen twice a day signals for the mycelium to start sprouting reproductive fruiting bodies — AKA mushrooms. You can create fresh air exchange (FAE) in a few ways:
A) Leaving the lid of your fruiting chamber cracked,
B) Flipping the lid of your fruiting chamber upside down
C) Opening your fruiting chamber and “fanning” the mycelium a few times a day.
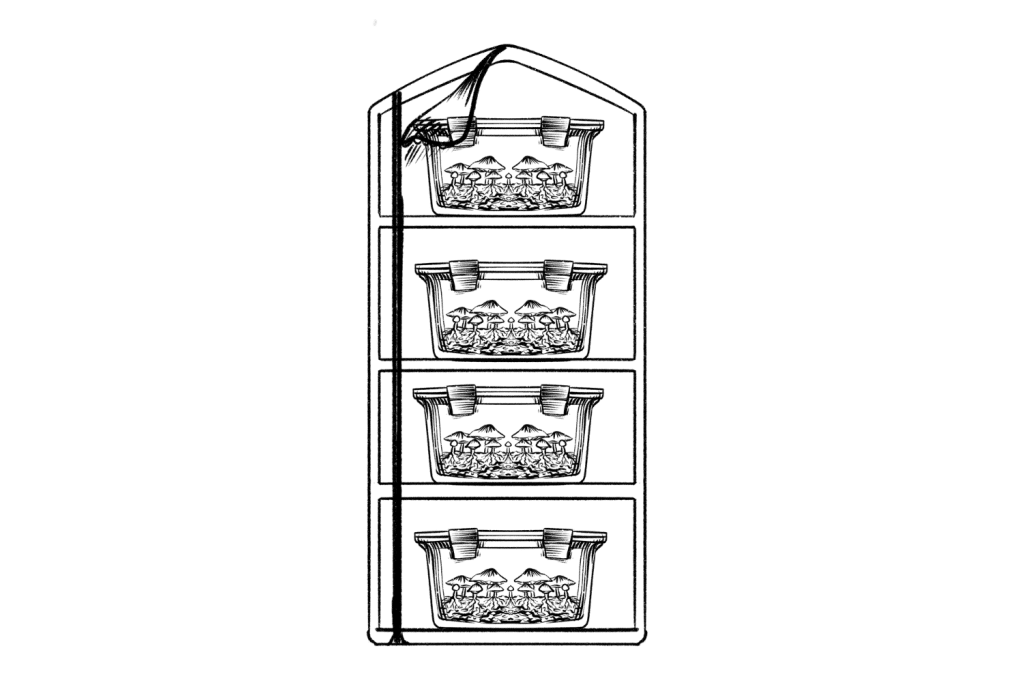
Remember, with increased FAE comes moisture evaporation, which also helps trigger pinning. Whenever you notice no more water droplets on the surface of your mycelium or the sides of your fruiting chamber, it’s time to mist.
Avoid spraying the mycelium straight on; this can cause bruising. Try instead to spray the sides of the chamber or above the chamber, allowing the mist to “rain” down.
Pinning can take anywhere from a few days to weeks, so don’t get discouraged if you don’t immediately see mushrooms. Once you finally see pins, rest assured you’ll have a flush in a few days.
#8. Harvesting Your Uncle Ben’s Crop
Timeframe: 10 minutes – 30 minutes
The best time to harvest most Psilocybe cubensis mushroom strains is right after the veil — a thin skirt that attaches the cap of the mushroom to the stipe or stem — tears. As the cap opens, this veil breaks away, eventually causing the spores underneath to drop.
While this doesn’t impact the potency of your mushrooms, it can make a mess and inhibit second and third flushes. Because of this, it’s best to harvest your mushrooms before they have a chance to open fully and drop their spores.
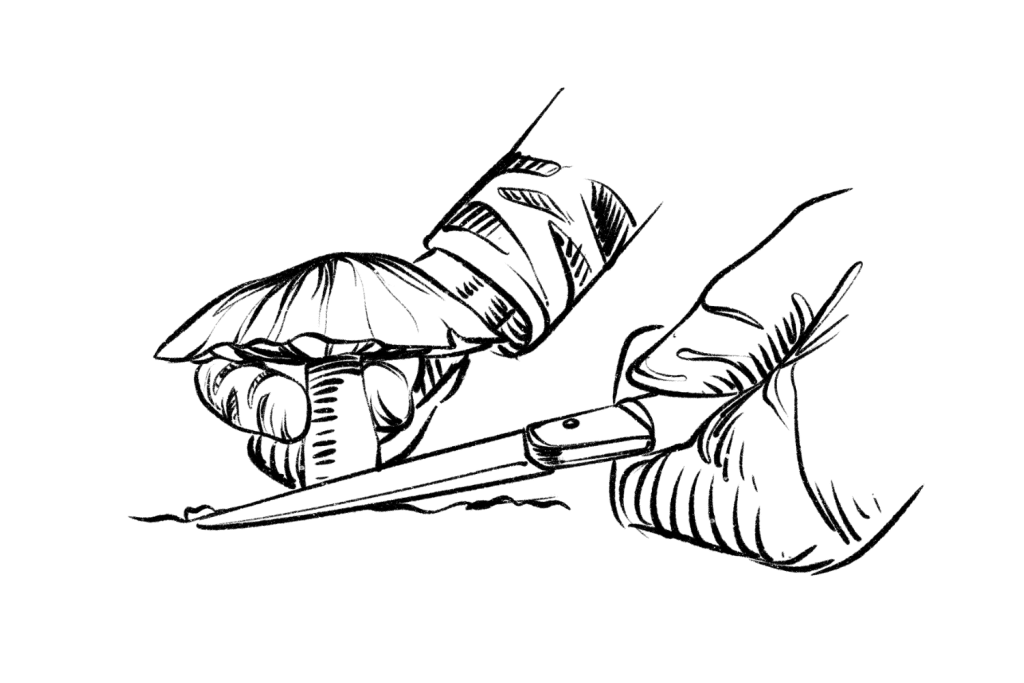
To harvest, grip the base of the mushroom where it meets the substrate and twist it. The mushroom should break away, but if you need a little help, a knife will work well.
Do your best to harvest as close to the substrate as possible and avoid leaving stumps of mushrooms. This will help promote future flushes and prevent rotting between flushes.
Once harvested, your mushrooms are ready to eat or dehydrate, and you can rehydrate the colonized substrate for a second flush.
Conclusion: Why Uncle Ben’s is the Most Affordable & Accessible Way to Grow Mushrooms at Home
You don’t need access to special equipment or a hefty investment to try Uncle Ben’s tek. Pre-sterilized instant rice bags are available almost everywhere and cost only a few dollars. Inoculate the bags with $15 of spores, and you’re off to the races!
Hobbyists have achieved incredible yields with Uncle Ben’s tek, and it more than pays for itself after the first harvest. For all these reasons, Uncle Ben’s tek is a great jumping-off point for the amateur home cultivator.
Of course, some experienced growers favor this tek, particularly for convenience — there is far less risk of contamination thanks to the pre-sterilization of the rice. Why soak and sterilize grain when you can buy it ready to go at a fraction of the price of bulk grain or pre-made grain bags?
Amateur cultivators often have far more success when they rely on good old Ben’s Original Ready Rice.
Frequently Asked Questions
Here are some of the questions mushroom growers often ask during Uncle Ben’s Tek:
1. Do I Have To Use Uncle Ben’s Rice?
Any brand of pre-cooked rice will work, but it must be pre-cooked and not instant. Instant rice, minute rice, and other brands of par-cooked rice don’t have the moisture content spores require.
2. Can I Use White Rice Instead of Brown for Uncle Ben’s Tek?
Some debate exists on the topic of white rice vs. brown rice. Due to its higher nutrient density, brown rice is typically the favorite of the two. Some home cultivators say they’ve had great success using white rice, while others say their spores won’t colonize white rice at all.
I recommend sticking with pre-cooked brown rice if you can get your hands on it. If you can’t — or you feel like experimenting — try pre-cooked white rice instead.
3. Can You Get More than One Flush From Uncle Ben’s Tek?
Yes! Once you have harvested the first flush of mushrooms, rehydrate your “cake” — the solid brick of colonized substrate left after harvest.
During the fruiting process, mushrooms use the nutrients and water collected by their mycelium “roots.” Once mushrooms have reached maturity, their mycelium can dehydrate and will need replenishment.
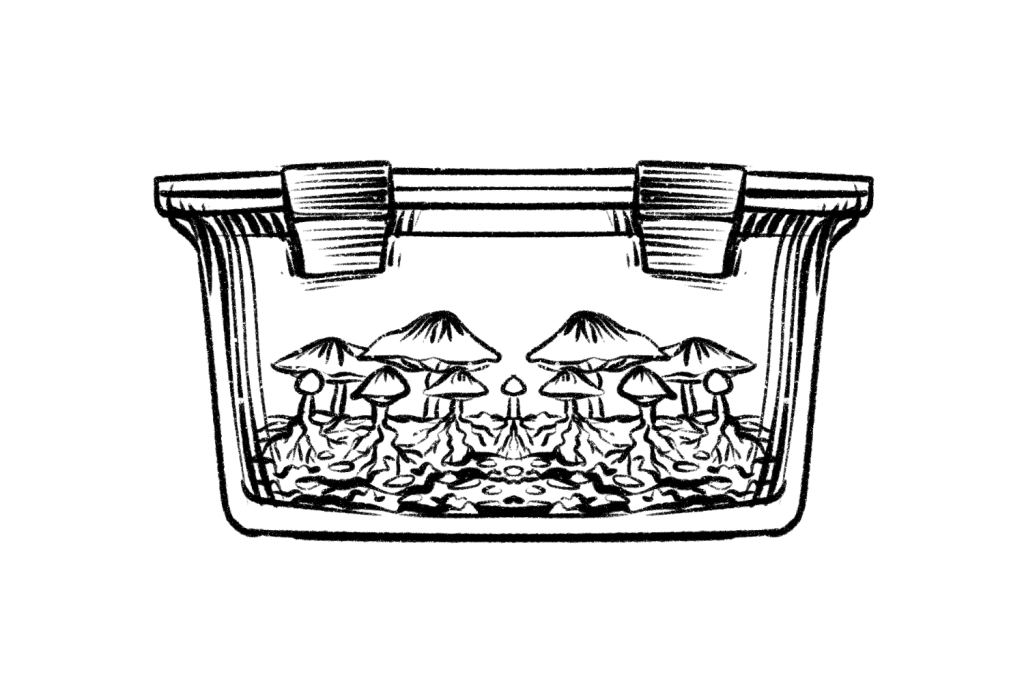
To prepare the cake for a second (or third) flush, you’ll need to “dunk” it — or rehydrate it.
Some do this by filling fruiting chambers with a few inches of water to float and soak their cakes. Others like to give their substrate a really good misting, saturating the cake with water.
If you choose to soak your cake, allow it to sit in the water for 1–3 hours before draining the excess moisture. Once you have rehydrated your substrate, replace the lid and let it sit until you begin to see new hyphal knots. Your next flush is on the way!
4. Is Uncle Ben’s Tek Legal In the US?
No. It is not legal to grow magic mushrooms — or mushrooms containing psilocin or psilocybin — in the US. Both compounds are Schedule I substances in the Controlled Substances Act.
5. How Long Does Uncle Ben’s Tek Take?
The fastest you should expect to grow mushrooms with Uncle Ben’s tek is around 3–4 weeks. A month or even six weeks is a more standard timeline for this tek, but some grows can take as long as 10+ weeks.
Remember, things go wrong when growing mushrooms all the time! If things aren’t progressing, but you don’t see signs of contamination, more time usually does the trick.
Be patient.
6. How Much Does Uncle Ben’s Tek Cost?
The total price of your Uncle Ben’s tek grow will vary depending on where you live and buy your supplies. All in all, growing with Uncle Ben’s tek comes out to around $50–$100.
Ben’s Original Whole Grain Brown Ready Rice sells for around $2.39 per pouch at stores like Walmart and Target. You can find cheaper options at dollar stores or your local grocer.
Spore syringes cost $10–$30, depending on the strain you buy and the vendor you choose. Add another $15–$40 for substrate, containers, and cleaning supplies.
If you use fewer rice pouches, you can easily grow mushrooms for less than $50.
7. What Is The Spiderman Tek?
Spiderman tek is another name for Uncle Ben’s tek, named after alter-ego Peter Parker’s Uncle Ben.

