How to Grow Weed: A Guide for Those Without a Green Thumb
Think it’s hard to grow weed? Don’t worry — we’ll walk you through it. Just make sure you know the laws before starting.
Growing weed (Cannabis sativa and Cannabis indica) can be an expensive and demanding task, but it doesn’t have to be. Thankfully, it’s a hobby anyone can take on by carefully following a handful of steps. If you do it properly, even your first time can reward you with high-quality, home-grown buds in around four months.
Before we dive into the specifics of marijuana growth and care, here’s a short rundown of the most important aspects of growing weed.
What Do You Need to Grow Weed?
There are all kinds of complicated and expensive growing equipment you can order to get the job done.
The sky is the limit here, but it doesn’t need to be expensive — here are the most basic things you need to successfully grow weed at home:
- Some seeds (learn where to buy weed seeds online)
- Growing medium (soil, coco coir, or a hydroponics system)
- Pots with good drainage
- Nutrients/fertilizer
- Source of light (sunlight or artificial lighting)
Some optional things that can help include:
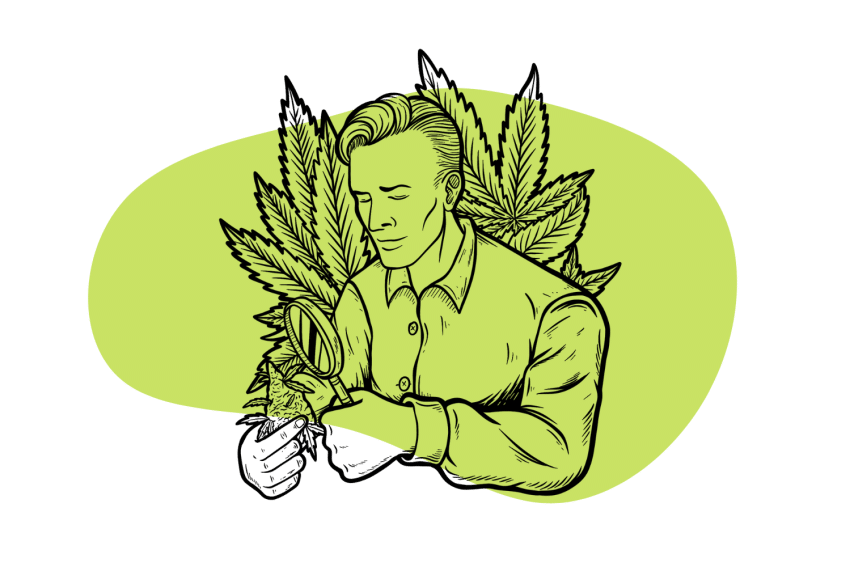
- A jeweler’s loupe to assess trichomes
- Insecticidal soap (for aphids, thrips, or mites)
- Light timers (if using artificial lights)
- Fans (to help regulate humidity/temperature)
Growing Marijuana Indoors vs. Outdoors
We’ll look at the differences in growing indoors versus outdoors since there are certain requirements depending on which you choose.
Indoor Growing
To meet the minimum requirements for growing marijuana indoors, you’ll need a container with soil and fertilizer, calibrated lights that simulate sunlight, and an enclosed space with white walls.
Indoor growing can get fairly technical and expensive.
If you don’t have a space in your house to meet a cannabis plant’s needs, consider investing in a grow tent that has a ventilation system. Also, consider acquiring equipment to measure temperature, pH balance, and humidity levels.
We don’t recommend spending too much on your first set-up, as you should first master the gardening aspect before you even think about optimizing the process.
Indoor growing is the more discreet alternative and could be your only choice, depending on your state’s marijuana cultivation laws.
This method gives you more control thanks to the many tools that help you create the perfect environment for your plant. It’s not restricted by the outside climate either, so you can grow whenever you please.
You can also cultivate exotic strains that may not survive in your location’s climate. There’s also less risk of pests and diseases, provided your growing space is clean.
Indoor growing’s biggest downside is its cost, both in equipment and due to how much energy artificial lighting systems consume.
Pros & Cons of Indoor Growing:
- PRO: You can grow all-year-round
- PRO: You don’t need much space to get the job done (a grow tent works great)
- PRO: You have complete control over environmental conditions to maximize yields
- CON: You need to use electricity to power the lights (no sunlight)
- CON: Humidity can become a problem in small spaces

Outdoor Growing
Outdoor growing has a much lower barrier for entry, requiring regular gardening equipment and an appropriate climate for cannabis to grow. Cultivation should begin in spring, and your plants should be ready to harvest before the weather gets cold.
Outdoor plants benefit from natural sunlight, which is one of the factors that contribute to their immense growth. Some growers believe that sunlight gives the buds a richer cannabinoid profile.
In addition to costing less, it’s a more sustainable option since you won’t need the help of an artificial lighting system that consumes lots of energy.
Pests and diseases will be the biggest obstacle, and you’ll need to use organic pesticides and maintain proper hygiene in your garden to prevent these factors from ruining your plants.
Pros & Cons of Outdoor Growing:
- PRO: Sunlight is free
- PRO: You don’t need to spend money on soil or environmental controls
- PRO: Natural soil biodiversity can enhance plant health
- CON: Protecting your plants from frost or excess heat can be a challenge
- CON: Pests and diseases may pose a greater risk without controlled indoor conditions

Phases of Successful Marijuana Cultivation
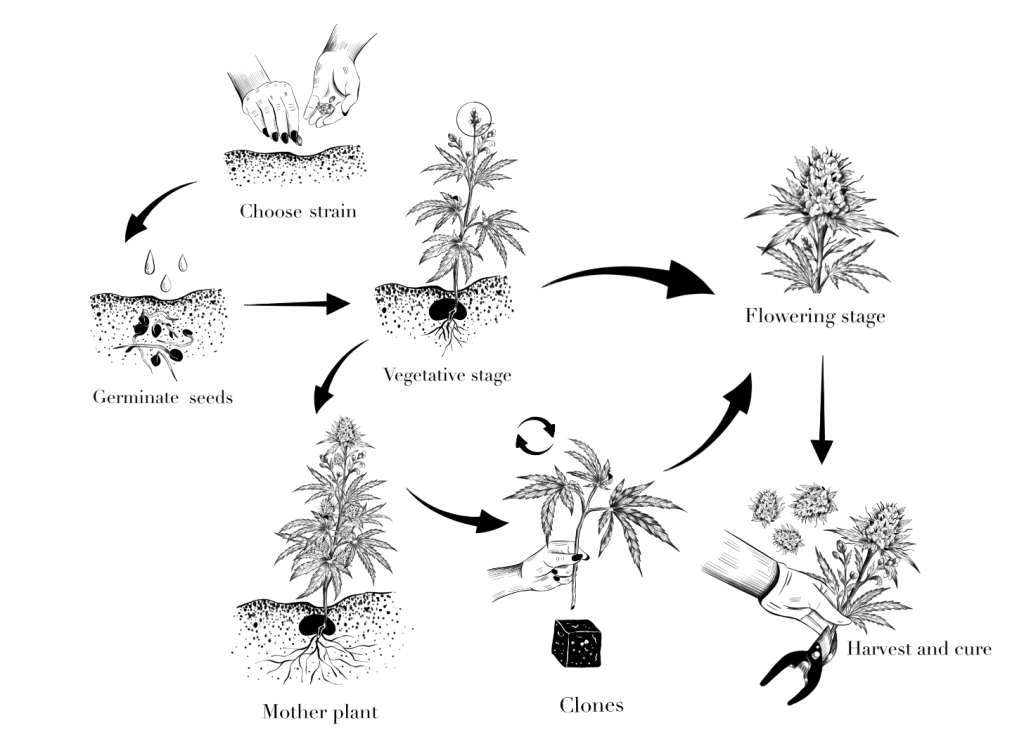
Marijuana cultivation has many stages that provide different challenges for the grower. You will achieve optimal results if you’re mindful of your plant’s needs at every stage and leave as little to chance as possible.
Remember that it’s a commitment to a living thing, and the plant should never go unattended for long periods of time.
1. Choosing a Strain
There are thousands of different marijuana strains available today. Each one is bred to exhibit different growth characteristics and cannabinoid potencies. Some are more stimulating, others more relaxing. Choosing which strain to get started with comes down to a matter of personal preference and availability.
If this is your first grow, just about any strain will do, but we recommend going with some sort of indica. Indica plants tend to be a bit more manageable for the novice grower — they’re shorter and stalkier, have a faster flowering time, and are more resilient to temperature changes.
You can find many sativa strains, indica strains, and hybrid strains (produced by mating sativa plants with indica plants).
Sativa strains typically have energizing effects that increase focus and boost creativity. Indica strains tend to have a more relaxing effect that can help users struggling with anxiety, depression, and pain.
As their name suggests, hybrid strains are in the middle and offer combined effects depending on their genetics.
If you plan to grow one or two plants, try to find feminized seeds. Feminized seeds turn into plants that produce flowers, while male cannabis plants produce pollen sacs instead. If you get a male plant, your only option is to discard it, throwing away all your hard work.
2. Germination Stage (Seed Sprouting)
The germination stage lasts anywhere between three and ten days. Successful germination requires healthy, developed seeds that feel hard and dry and are brown in color. If your seeds are soft and look green or white, they have low chances of germinating.
You can plant seeds half a finger deep in wet soil in a small growing container, covering the hole afterward to start the germination stage.
Seed-starting kits work great for this. They tend to use soil that holds more humidity and comes with humidity domes to prevent everything from drying out.
During this stage, the most important factor is to keep everything moist but not sopping wet. If the seeds sprout and the soil dries out, your plants will die.
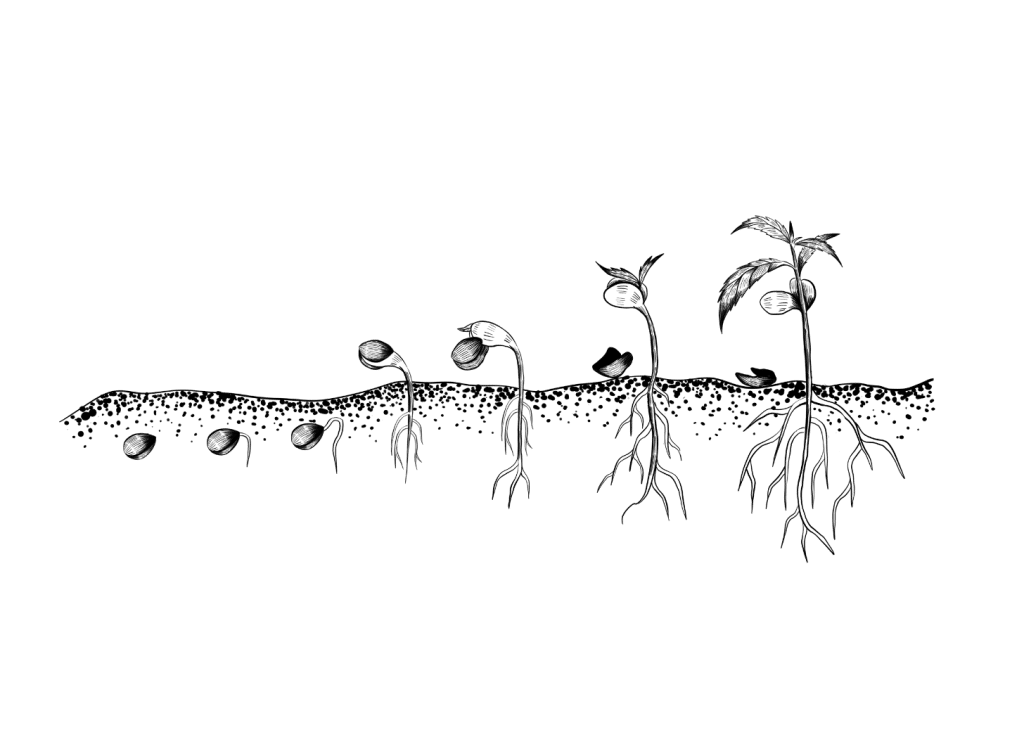
Alternatively, you can wrap your seeds inside a damp paper towel in a dark place or drop them in a shot glass filled with water. If no sprouting occurs after 15 days, start again with fresh seeds. If one sprouts, transfer it to dampened soil or other growing medium.
Plant it so the sprout faces up. Water them sporadically and leave them be as much as possible, as this process takes some time.
Once the stalk rises and its cotyledon leaves grow, your germinated seed becomes a seedling.
3. Seedling Stage
The seedling stage lasts around two or three weeks. You’ll see that your plant will develop larger leaves with more blades and take on a vibrant green color as its stem slowly grows in size.
Just like the seedling stage, it’s important to make sure your plants remain moist but not sopping wet. Spray them with a mister bottle and water when the soil starts to dry out.
Mature plants have between five or seven blades per leaf, although some may have more. Once new leaves reach this number of blades, your seedling will have become a fully-fledged plant.
4. Vegetative Stage
Once your plant passes the crucial seedling stage, it will grow exponentially, entering its vegetative stage. To accommodate this growth, you’ll need to transplant it to a large pot and begin watering more frequently.
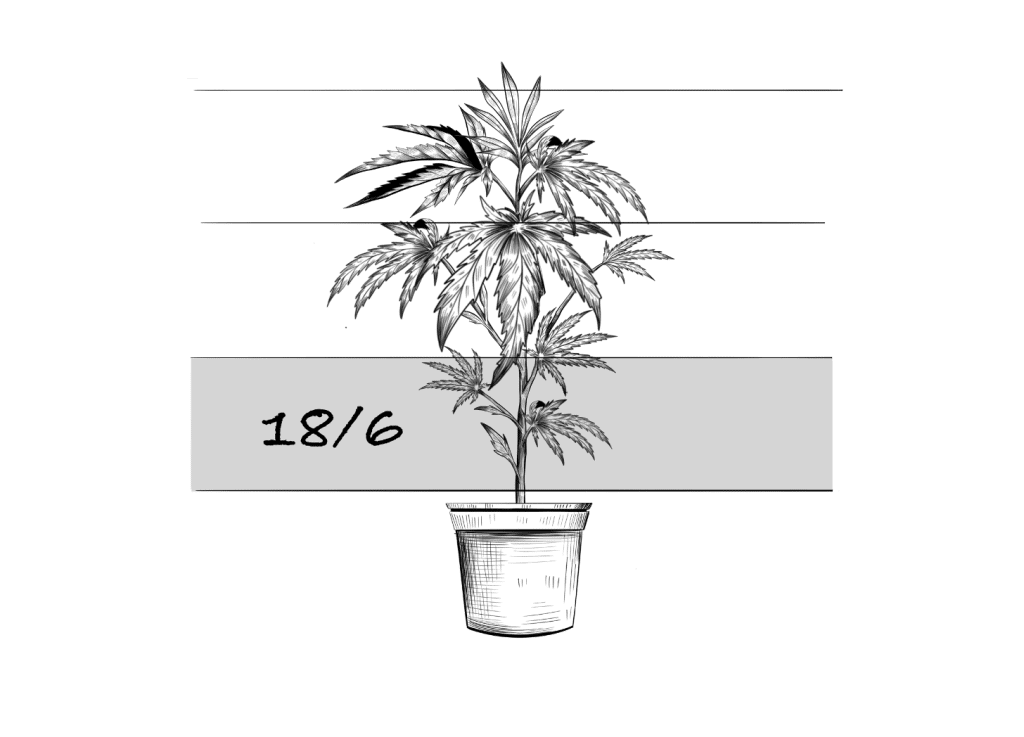
Use a high nitrogen fertilizer during this stage and set your light cycles to 18 hours on and 6 off if growing indoors.
With the exception of autoflower strains, you can keep your plants locked in the vegetative growth stage indefinitely by controlling light cycles and nutrients. As soon as you shift light cycles to 12-on, 12-off, your plants will begin to enter the flowering stage.
Transplanting
To transplant your seedling, bend the sides of its current container to break off any dirt or roots clinging to the walls. This way, its contents will slide off easily, so you can place it in an appropriate container. Water it and let it settle into its new home — it may not grow for the first day or so.
Watering
Unlike the germination and seedling stages, your plants are now much more resilient to drying out. If growing in soil, you’ll want to allow the dirt to almost completely dry out before watering. If your leaves start to droop, it’s time to water.
To assess its dryness, poke a finger knuckle deep and feel the dirt. If it’s bone dry, add water until some drains out from the bottom of the pot. Repeat this process during its entire lifespan.
If using hydroponic systems, make sure you check the pH of your water frequently and perform a complete reservoir change at least every 2 weeks (1 week is better).
Topping/Cutting
As plenty of fan leaves grow and branches grow out from the main stem, now is the perfect moment to train your plant to maximize its yield during the flowering stage. We recommend topping your plant so it can develop more bud sites and potentially double your yields.
To top your plant, wait until it has at least four complete sets of leaves branching out from nodes on the stem.
First, cut the main stem at the top, just above where three small clusters of leaves have formed. Afterward, cut precisely between the top and side clusters, and the two main stems should grow in a Y shape.
If your cut is too close to the top, your plant could quadruple, making the buds smaller due to a higher demand for nutrients. Be wary that it could also make the plant too large for the space it’s in.
5. Flowering Stage
After several weeks pass, the plant will enter the flowering stage, which is the moment you’ve been patiently waiting for. In this stage, it will begin to develop resinous buds.
To initiate the flowering stage, change your light cycle to a strict 12 hours on and 12 hours off. When the lights are off, do not turn them on. It’s important to allow complete darkness for 12 hours every single day.
Flowers will start to form within about 1-2 weeks of changing the schedule. During this time, it’s a good idea to shift to a fertilizer with more phosphorous. There are lots of great flowering fertilizers available on the market for both soil and hydroponic growing.
Keep an eye out for male flowers. Plants that develop these should be removed and discarded immediately. Failing to do so will cause your female plants to produce more seeds and lower-quality buds.
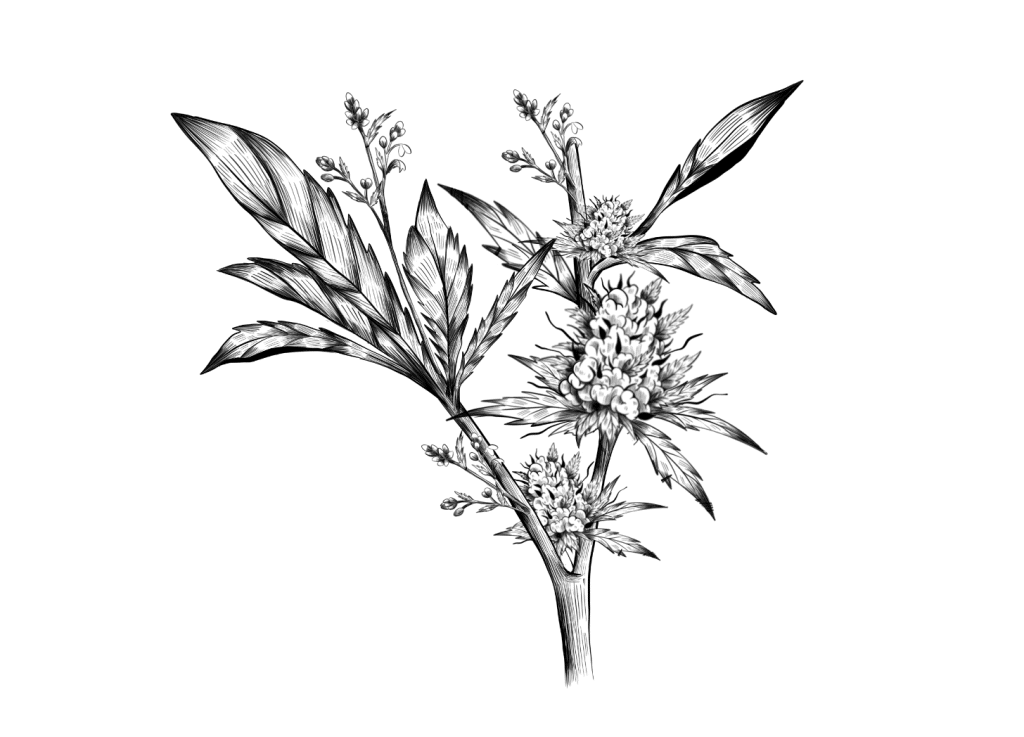
Once the plant stops growing, its buds will begin to develop and grow in size. Around the sixth week of the flowering process, the flowers will become very sticky due to increased trichome density.
Now that you’re nearing the harvest, make sure to flush your plant by giving it lots of water to clear out the nutrients from the soil.
Once the trichomes turn the appropriate color, it’s time to harvest. The aforementioned jeweler’s loupe can assist you at this step.
Harvesting & Storing Your Weed
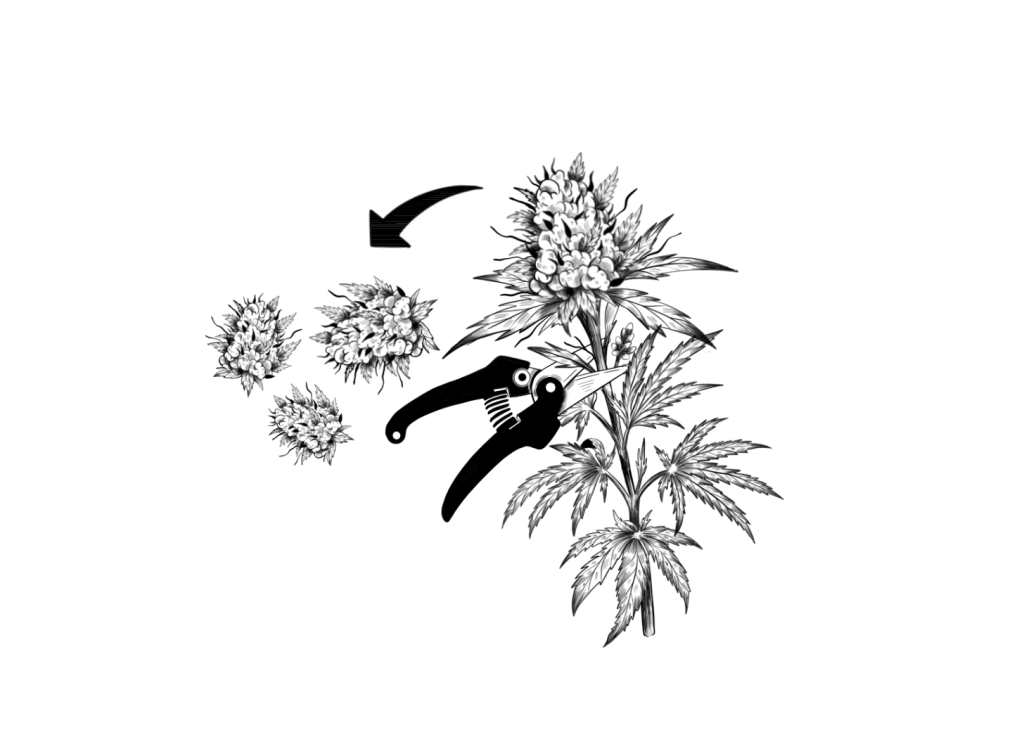
After the trichomes have developed to your liking, chop down the plant with the help of a large pair of shears. You can either do a wet trim, salvaging the buds immediately after cutting, or opt for a dry trim. Dry trimming requires hanging the plant for several days.
Grab a pair of small trimming scissors, making sure to keep rubbing alcohol at hand when the blades get too sticky, and start snipping the buds into a bowl or container. Make sure to remove the branches, stems, and leaves. This could take a while, especially if your plant has a healthy growing process.
If you’re wet trimming, lay the flowers on a ventilated surface when finished to allow them to dry. Dry-trimmed buds don’t need additional drying, and you can move on to curing them directly.
To cure your flowers, store them in airtight containers, such as mason jars, and in a cool, dark, and dry place. Make sure to check them regularly. At first, you’ll see the buds have regained some humidity, but over time, they will hit the sweet spot, neither dry nor wet.
In the first week, open the containers once or twice daily for a few minutes to refresh the air and release some moisture. Continue doing this more sporadically until the curing process ends.
Be patient while your buds cure inside the jar, and your weed will smell, taste, and smoke better. After all, you’ve waited for months already, and this additional step will unlock the full potential of your harvest.
If cured properly, you’ll be able to store your marijuana for around two years without it losing potency.
FAQs About Growing Weed
Here are popular questions about growing weed.
1. How much weed can you get from growing one plant?
Indoor and outdoor plans have different yields. You can get around 100 grams of buds from a properly cared-for indoor plant, while one outdoor plant, with its typically massive size, could yield over 200 grams of flowers.
2. How do I mitigate odor when growing cannabis?
A carbon filter in your grow tent’s ventilation system can filter the smell and prevent airborne microbes from harming your plant. ONA blocks, made from natural oils, also serve as odor neutralizers.
3. Which are the best strains for a beginner?
Easy-to-grow strains are those that are resistant to pests and disease and that have a shorter growing period. Northern Lights, Blue Dream, and Blue Cheese are some forgiving strains that will produce remarkable flowers that will be the envy of your friend group.

