How to Make a Spore Print
With this simple technique, you can enjoy unlimited mushroom spores for years to come.
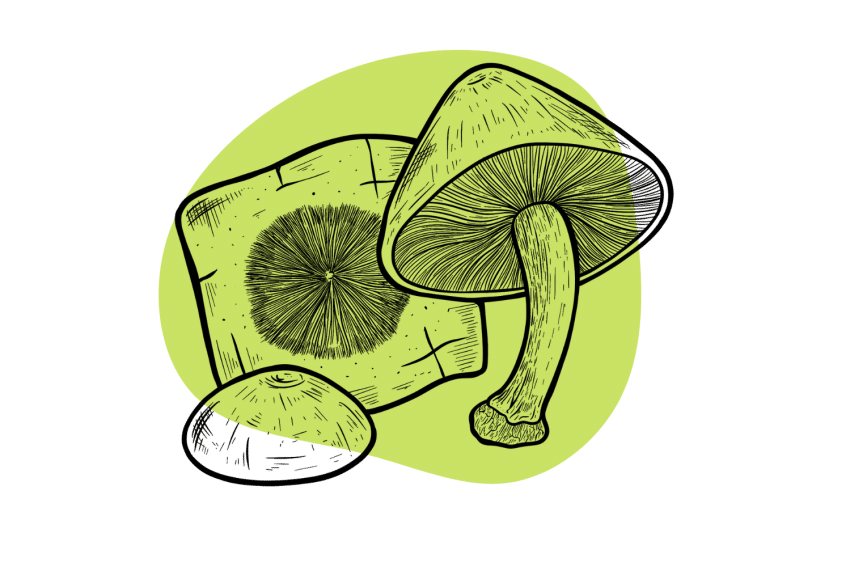
Spores are the ways mushrooms reproduce. They’re like the “seeds” for fungi.
Spores are really the only reason we see mushrooms in the first place — they’re fruiting bodies designed solely to disperse the spores as far as possible.
When the mycelium underneath the ground is strong and well-nourished, it sprouts mushrooms that will, in turn, release spores once their cap opens.
Everything the mushroom needs to grow again is located in just one of those spores, and if it can take a strong enough root in the soil and fight off contaminants, it can grow virtually anywhere.
Spore prints collect this reproductive material in one location so you can store it for future use. It’s an incredibly easy way to turn a single magic mushroom into untold numbers of future harvests.
Related: Where to Buy Magic Mushroom Spores (And What to Do With Them)
Step-By-Step Guide For Making a Spore Print
Making a spore print is one of the easiest ways to collect and store your mushroom’s genetic material for your next grow.
Since mushrooms can reproduce both sexually and asexually, each fruiting body creates everything you need to grow another full batch of mushrooms from scratch.
Whether you like the way it looks, you’re trying to carry on the legacy of a recent batch of mushrooms, or you’re just curious — here’s everything you need to know about creating a spore print:
Preparation & Supplies Needed to Make a Spore Print
To create a spore print, all you’ll need is:
- A mushroom (psychedelic variety or not, any spore-producing mushroom will do)
- A surface to place the mushroom on (most people use tin foil, but any sterile surface should do
- Something to cover it up — a bowl or cup work great for this
Everyone has their preference for mushroom strain, surfaces, and more. Typically, people use a bowl to cover the mushroom on an aluminum foil surface. Here’s how it works:
Step #1: Remove the Mushroom Cap
Take a sharp knife and cleanly cut the cap of the mushroom from its stem.
If you want to keep the mushroom intact, you can use a surface with a hole in the middle for the stem, but you’ll likely lose some spores through this opening.
Make sure the veil on the bottom of the mushroom is open — if applicable (some species don’t produce a veil).
Related: The Anatomy of a Mushroom
Step #2: Place Mushroom Cap on Some Tin Foil
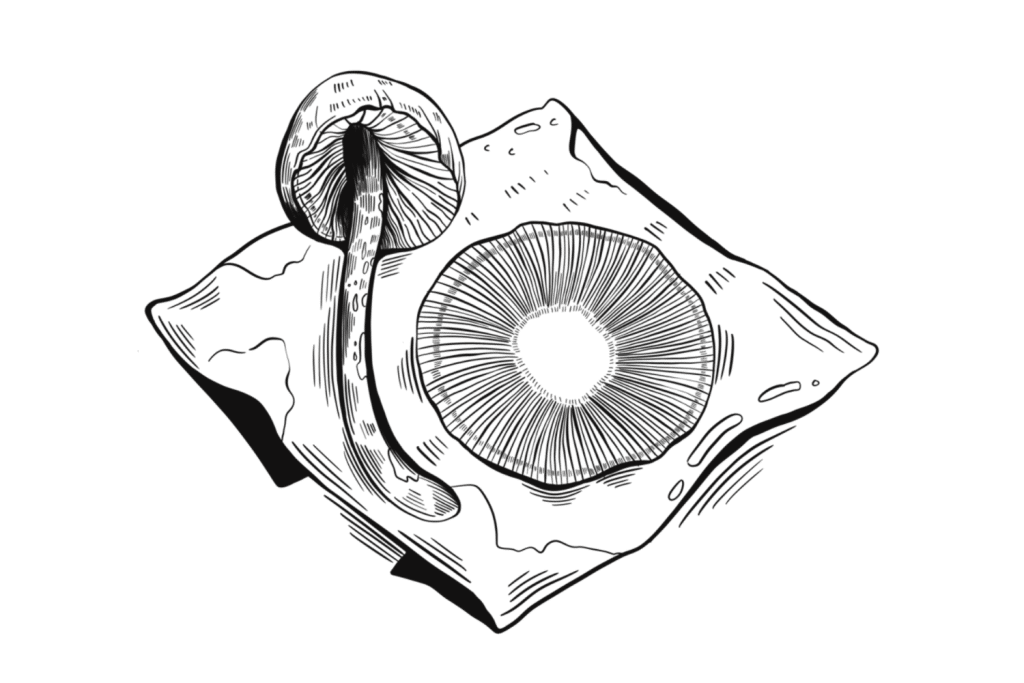
Place the mushroom gills down on whatever sanitized surface you’ve picked — normally, this is some tin foil, but a tile, some gloss paper, or another sterile, flat surface.
You can clean the surface first with some alcohol. Make sure the alcohol fully evaporates before placing the cap on top.
This surface will collect the spores as they fall from the cap.
I like aluminum foil because it’s easy to sanitize, cheap, offers a non-stick surface, and is easy to fold up securely for storage.
Step #3: Cover & Wait
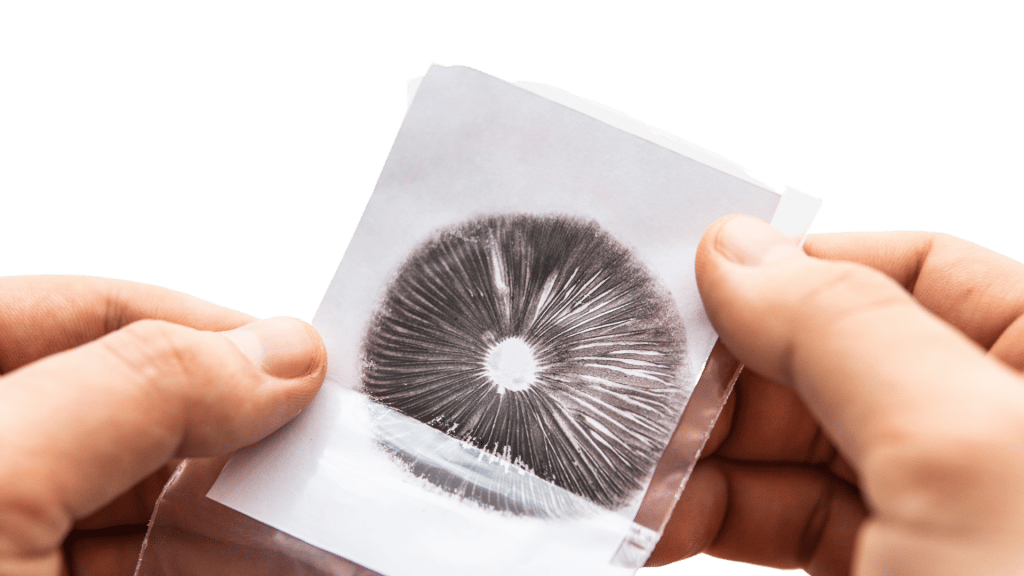
Cover the mushroom with a sanitized bowl, cup, or other covers, and let it sit anywhere between 2–24 hours. Over time, the spores will collect on the surface below, leaving you with the “fingerprint” of your mushroom.
Try to leave your mushroom alone during this time, as you don’t want to invite more airflow than you need to.
You’ll need to leave the mushroom cap here for at least 2 hours to allow the spores to collect on the surface. Overnight is even better.
Step #4: Remove the Cap & Seal Everything Up
Once you remove the mushroom cap, if you’re not planning to use the spores right away, you should seal it up by folding the tinfoil over itself and sealing it in a Ziplock bag.
Store your new spores somewhere cool, dry, and dark. A drawer or box should do the trick.
For long-term storage (more than 6 months), it’s best to keep your spores in the fridge.
What’s the Purpose of a Spore Print?
There are three main reasons why people make spore prints:
- Reproduction — spores can be used to innoculate new substrates or agar to produce new batches of mushrooms.
- Identification — some species of mushrooms can only be identified by their spores.
- Collection — some people like to collect spores from the mushrooms they find in the wild as a sort of “souvenir” for their finds.
Spores are one of the biggest identifiable characteristics of a mushroom, yet they remain hidden and difficult to see with the naked eye. Some species of mushrooms are almost identical in appearance and can only be definitively identified by viewing the spores under a microscope.
Psilocybin-containing mushrooms (AKA “magic mushrooms”) typically have dark-blue/purple spores, which are often one of the few distinctions between them and other species. Albino strains are the only exception here — they have either red or white-colored spores.
Other spores may show up with an orange, black, white, yellow, or brown coloration to them. It all depends on which one you might be dealing with.
Using a Spore Print to Grow Mushrooms
While it’d be nice to just put your tin foil in the dirt and see mushrooms grow, it’s going to take a little more work than that. If you’re planning to grow mushrooms from a spore print, you have a few options.
First, you should utilize a still-air box (AKA a “glove box”) to ensure airflow is as minimal as possible. Contamination is the biggest struggle mushroom cultivators face. Most mushrooms can resist mold and bacteria once established — but they grow much more slowly and will be overcome if they aren’t grown in a sterile environment.
You can find still-air-boxes online if you want, or you can create one with a large plastic container and a pair of heavy kitchen gloves using these steps:
- Cut Two Holes — These are for your arms, so make sure you have enough room to move around. I removed the paper from an old metal coffee can, carefully warmed it on the stove (it shouldn’t get/doesn’t need to be too hot), and let it melt the holes for me.
- Attach the Gloves — Use duct tape to secure the gloves via duct tape on the outside of the container surrounding the holes to create a seal.
- Disinfect Container and Materials — Use Lysol or cleaning alcohol with at least 70% alcohol content and rub down the inside of the box, your gloves, the materials you’ll be using, and the underside of the lid.
- Close the box — Seal the box with your disinfected items inside, and you’re ready to work without the risk of contamination from airflow!
Here are a few ways people use spore prints to grow mushrooms:
Technique #1: Creating Spore Syringes From Spore Print
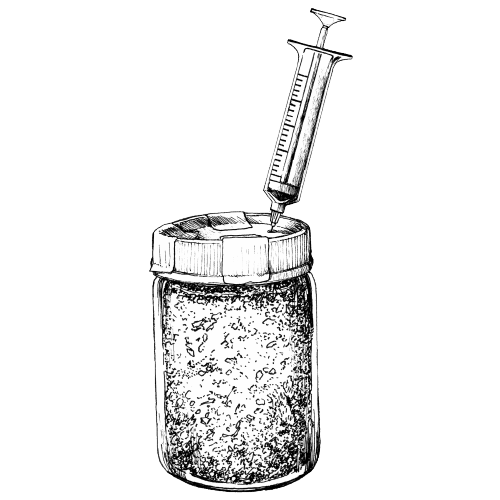
Creating your own spore syringe is an easy way to store your spores for later flushes and easily inject them into your substrate of choice at a later date.
To do this, you’ll need:
- Distilled Water — Ideally distilled in a pressure cooker at 15 psi for 20 minutes before letting the water cool completely
- A Shot Glass
- Spore Print
- Scalpel or Pen Knife
- Clean Syringes — You can either fill these with distilled water beforehand or fill them in the still-air box
- A lighter or torch
When you have your supplies in order and ready to go, create your syringe through the following process:
- Use the lighter to heat your scalpel until it’s red-hot, and allow it to cool to room temperature to further sterilize it
- Hold your spore print above the empty shot glass and scrape the spores into the cup (the more, the better, but feel free to break a single print up into multiple)
- Gently squirt the distilled water into the glass using the syringe and stir gently — sometimes, it helps to pull the water up and push it back out a couple of times to properly mix the spores with the water.
- Gently shake and cap your needle before storing it in an airtight container.
After, store them in a cool, dark environment until you’re ready to use them.
Note: Don’t use your spore syringe right away — it’s better to let the spores hydrate for at least a week beforehand.
Learn how to use spore syringes in our ultimate guide to growing magic mushrooms.
Technique #2: Using Agar & Spore Prints to Grow Mushrooms
Using a spore print to create mushrooms with agar is far easier than a spore syringe but doesn’t provide a long shelf-life. As such, you should only prepare mushrooms through agar if you’re planning to grow them immediately.
To do so, scrape your spores over an agar plate, cap them, and allow them to begin culturing. Over time, the mycelium from your spores will take over the nutrient-rich agar and form a strong starting place to grow your next flush.
Cut it into various “slices” and distribute it among your substrate to begin your next flush.
FAQ: Common Concerns When Making a Spore Print
Here are some of the common questions people ask about making a spore print:
1. Can I Make a Spore Print Without Aluminum Foil?
Yes! You can leave a spore print on just about any surface — the main thing is ensuring it’s sterile, easy to store, and provides a surface you can scrape the spores off later.
Some other common choices include:
- Glassware
- Plastic lids
- Tupperware containers
- Porcelain tiles
2. How Important is Sterilization for Spore Prints?
Sterilization is the most important element of nearly every step of the mushroom cultivation process.
Mold and bacteria thrive in the same environments as mushrooms and will grow much more quickly. If mold and bacteria take hold before your mushrooms, they will dominate the substrate and kill your mushrooms before you can even get started.
3. How Long Can I Keep a Spore Print?
While it’s best to use your spore print as soon as possible, they will remain viable for a very long time. Every species is different, but if stored properly (away from sunlight, in a cool, dry area, and cut off from airflow), your spores should remain active for at least a year (sometimes as long as 10 years).

